
Food Photography Lighting: 5 Professional Techniques
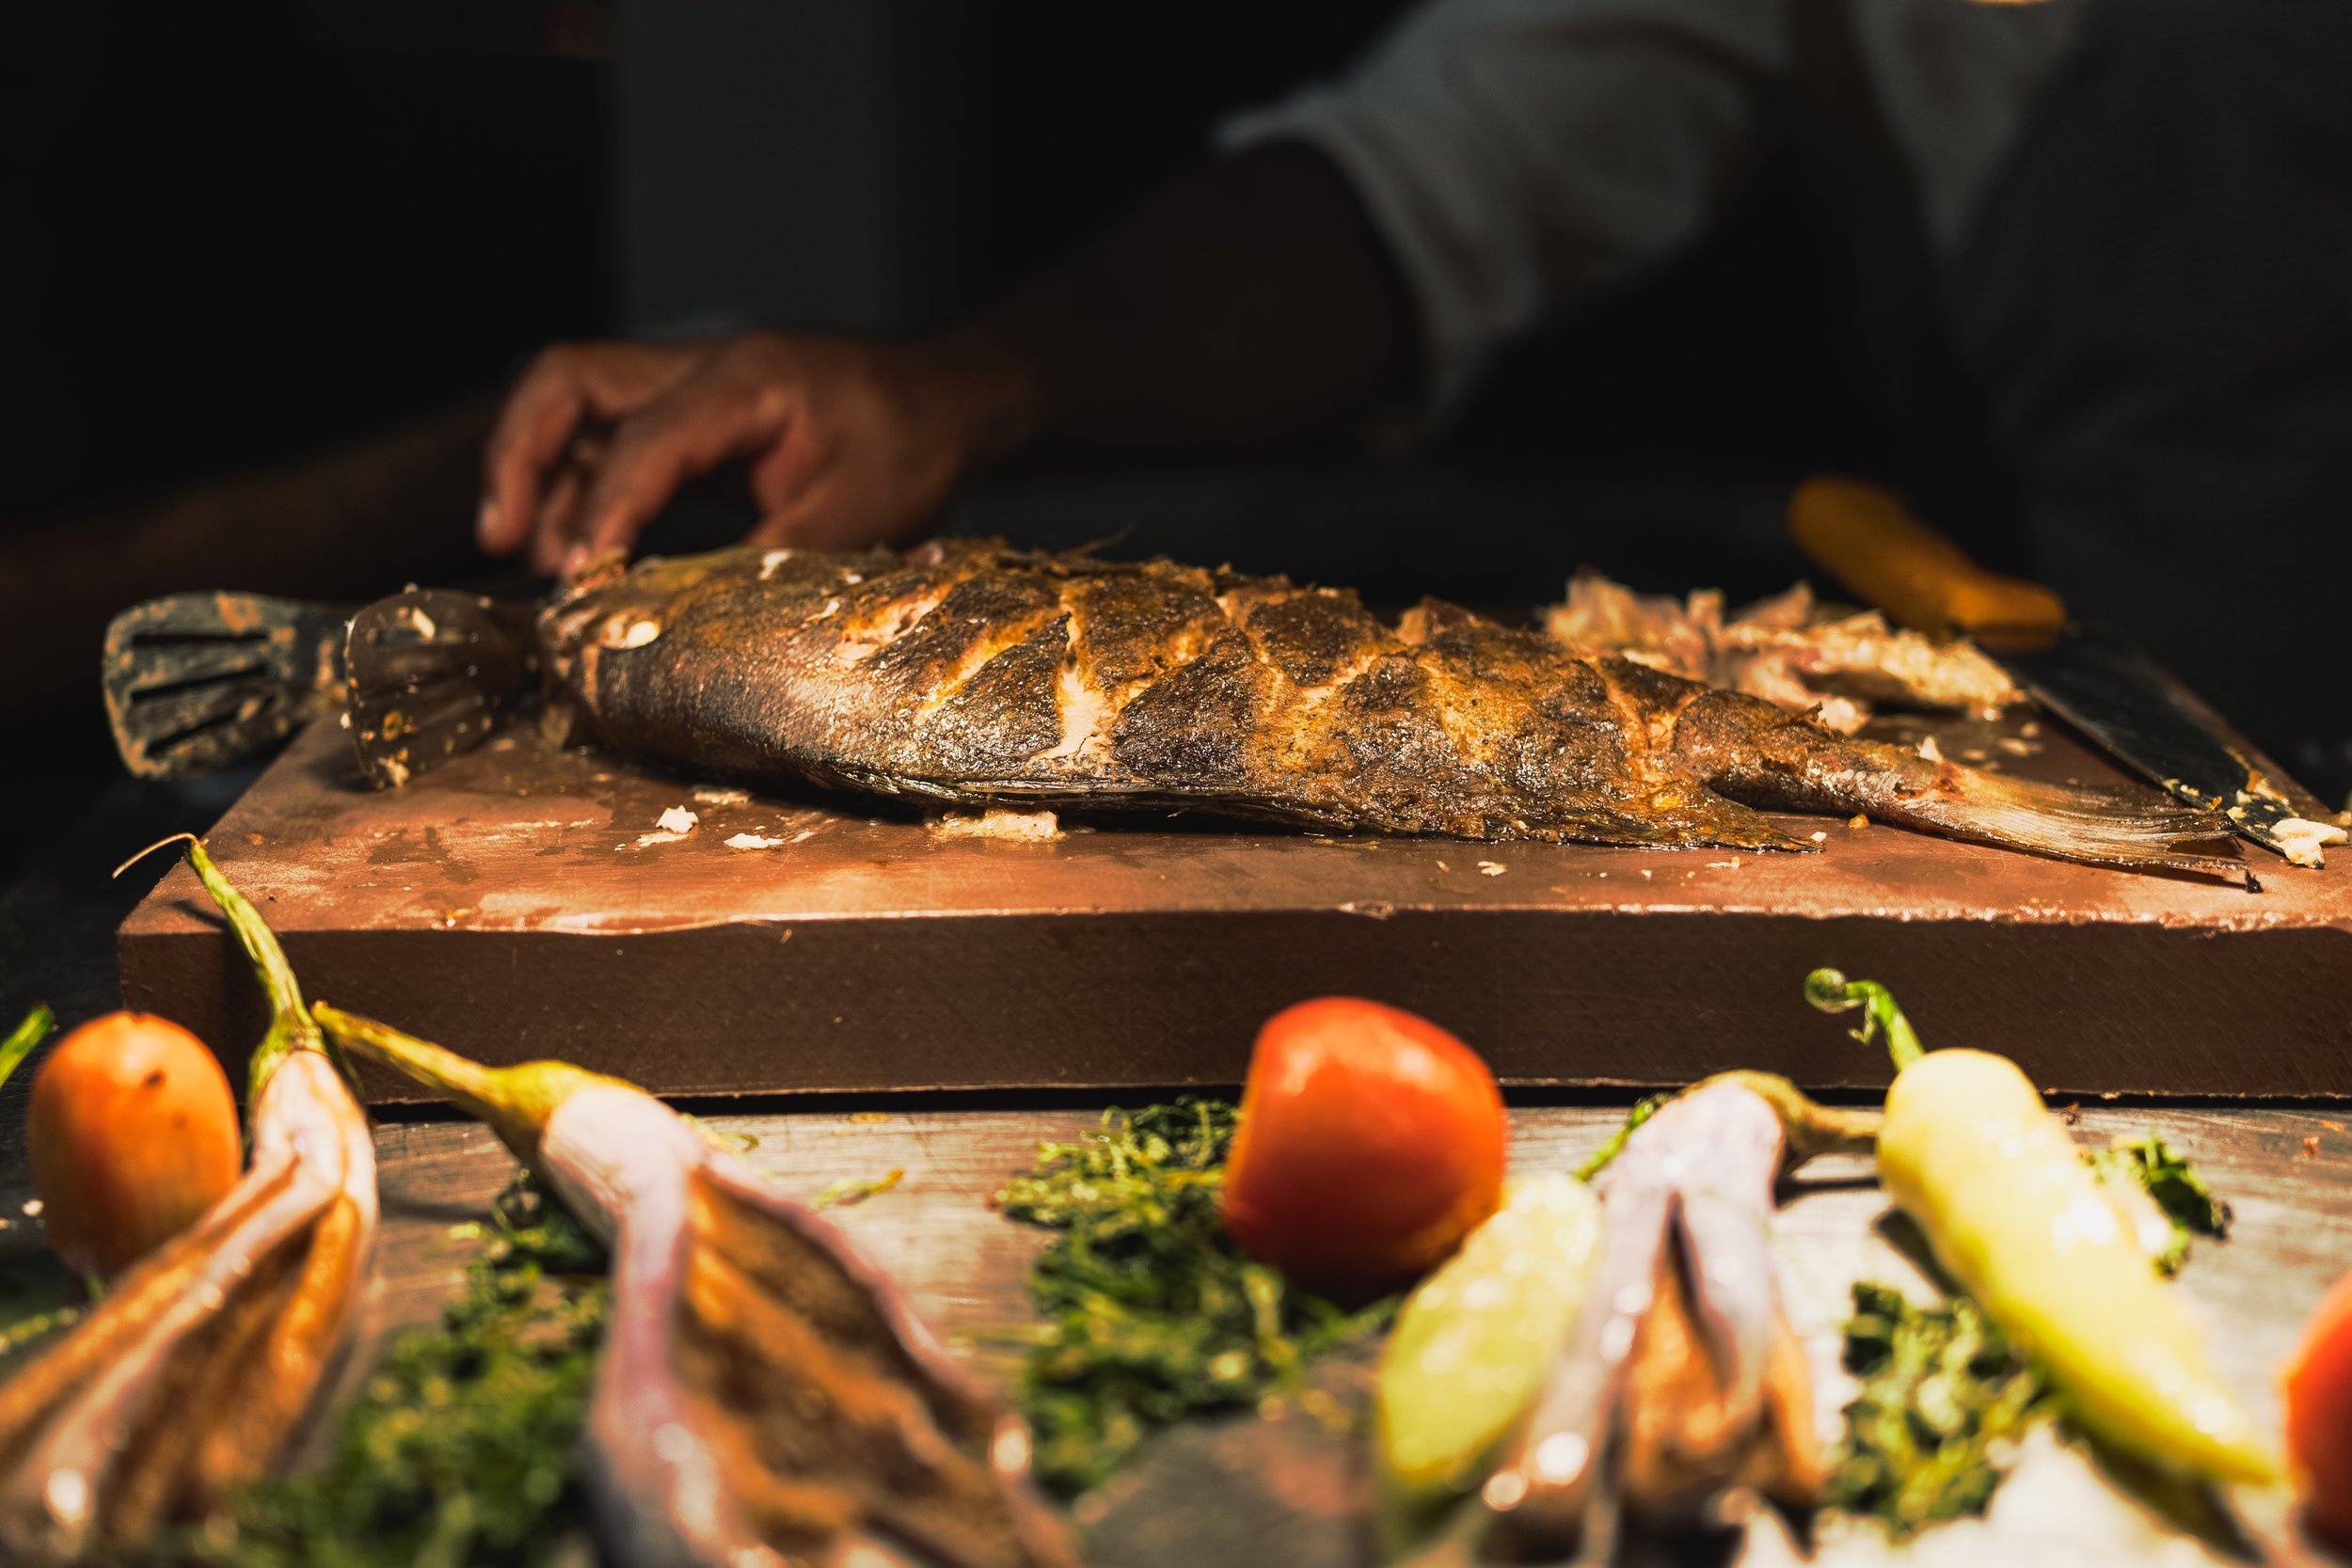
A well lit kitchen bench in a 5 star hotel in Sri Lanka displaying grilled fish and vegetables in the foreground
Good lighting can make or break your food photos. It brings out texture, colour, and depth, making dishes look irresistible. Here’s a quick breakdown of five essential lighting techniques every food photographer should know:
Directional Lighting: Use back or side lighting to emphasize textures like flaky croissants or glossy desserts.
Light Modifiers: Diffusers soften harsh light, while reflectors adjust shadows and highlights.
Studio Lighting: Consistent setups with high-CRI lights ensure true-to-life colours and control.
Distance Control: Adjust light placement to balance texture and shadow intensity.
Shadow Manipulation: Use flags and blockers to shape shadows and add contrast.
| Tool | Best For | Key Effect |
|---|---|---|
| Diffusers | Softening harsh light | Reduces strong shadows |
| Reflectors | Adjusting light direction | Adds highlights or fills gaps |
| LED Panels | Consistent lighting setups | Reliable, natural color tones |
| Black Flags | Controlling shadows | Enhances depth and contrast |
Start with a single light at a 45° angle and experiment with modifiers and shadows for professional results.
Easiest Food Photography Lighting Techniques

Directional Light for Better Texture
Directional lighting is a game-changer for adding depth and texture to your photos. By carefully placing your light source, you can bring out the tactile qualities of food and avoid the flat, lifeless look that often plagues food photography.
Back Light for Clear and Shiny Foods
Place your light source 30-45° above eye level, positioned behind your subject and angled downward. This setup works wonders for translucent liquids, glossy desserts, and dishes with oiled surfaces.
“Avoid frontal lighting positions - they flatten textures and create unappetising hotspots on oily surfaces”
Side Light for Surface Details
Side lighting, also known as "raking light", skims across the surface of your subject, creating delicate shadows that highlight textures. It's especially effective for foods with intricate surface details:
| Food | What It Highlights |
|---|---|
| Croissants | Flaky, layered texture |
| Grilled meats | Defined grill marks |
| Artisanal bread | Crusty, rustic appearance |
Tools to Control Light Direction
To master light placement, you'll need:do
Adjustable stands for precise positioning
Fill reflectors to soften shadows
Focused light sources for controlled illumination
For the best results, place your fill reflectors at half the distance of your primary light source. This setup balances shadows and keeps the details in darker areas sharp and visible.

Light Modifiers: Diffusers and Reflectors
Once you've set up your directional lighting, modifiers help fine-tune its quality to elevate your food photography.
Diffusers for Softer Light
Diffusers are great for turning harsh, direct light into soft, even lighting. This helps minimize strong shadows while keeping the fine details of your food intact. For small plates, place the diffuser 12-18 inches away. For larger table setups, aim for 3-4 feet of distance [3].
If you're a pro, fabric diffusers like Lastolite panels work wonders for scattering light evenly. On a tighter budget? Framed tracing paper can achieve a similar effect [4] [5].
Reflectors for Light Adjustment
Building on the fill reflector basics from Section 1, here's how specific types can enhance your shots:
| Type | Best For | Effect on Lighting |
|---|---|---|
| White | Fresh produce, salads | Softens shadows, keeps it natural |
| Silver | Soups, beverages | Adds crisp highlights and extra shine |
| Black | Chocolate, roasted dishes | Deepens shadows, adds drama |
“The key to natural-looking food photography is achieving a 2:1 contrast ratio with softboxes, while umbrellas typically produce a softer 1.5:1 ratio that works well for broader scenes”
Softbox vs. Umbrella: What to Expect
Softboxes and umbrellas both play a role in controlling light, and they work well with the studio setups discussed in Section 3. Softboxes focus light into a narrower beam (15-25°), making them perfect for highlighting specific details like glazes or oils. Umbrellas, on the other hand, spread light more widely (45-60°), wrapping light around your subject for a softer effect [4] [6].
For the best results, position softboxes at a 45° angle to your dish. Pair this with a silver reflector on the opposite side to create natural highlights that make food look fresh and appealing [6]. For overhead shots, make sure your modifiers are slightly larger than your frame - about 120% - to cover multi-dish setups effectively [5].

Studio Lights for Reliable Results
Studio lighting takes the guesswork out of food photography, offering consistent and controlled results. When paired with the light modifiers from Section 2, these setups can also tackle colour distortion issues mentioned earlier.
Choosing the Best Lights
The right studio lights can elevate your food photography. Prioritize lights with high colour accuracy - a Colour Rendering Index (CRI) of 90 or above ensures your food looks vibrant and true to life. For example, the Godox SL-150W LED boasts a CRI of 96+, making it a solid choice for capturing natural tones [7].
| Light Type | Ideal Use Case | Key Benefits | Price Range |
|---|---|---|---|
| Continuous LED | Real-time adjustments | Instant feedback | $200-800 |
| Monolight Strobe | High-speed captures | Strong power output | $400-1,500 |
| Speedlight | Small setups | Easy to transport | $150-500 |
Setting Up and Adjusting Angles
For a natural look, position your main light at a 45-degree angle to your subject and elevate it about 2 feet. This setup creates soft, realistic shadows. For shiny or glossy foods, adjustable LED panels with a range of 3000K-6000K help minimize unwanted reflections [1][6].
Controlling Stray Light
To block unwanted light and shape your shadows, use affordable tools like $15 V-flats or black foam core boards [3]. Keep your setup focused by:
Turning off ambient lighting
Using barn doors to direct light
Placing black cards strategically around the scene
This setup creates a controlled environment, allowing you to refine your shadows with precision. Flags, discussed in Section 5, can further fine-tune the effect.

Light Distance Effects on Food
Building on earlier techniques for directional control, the placement of lights plays a key role in how food looks in photos.
Light intensity drops off quickly as the distance between the light source and the subject increases, which directly affects the food's appearance. This method complements the modifier techniques from Section 2 and leads into shadow techniques discussed in Section 5.
Near Light for Sharp Details
Placing lights close to the food (about 12-24 inches) creates bold effects that highlight texture. This approach is especially effective for foods with detailed surfaces.
| Food Type | Distance | Effect |
|---|---|---|
| Glazed Foods | 18" | Bright, focused highlights |
| Layered Items | 18-24" | Better depth perception |
| Transparent Foods | 12-16" | Enhanced refraction |
| Delicate Items | 3-5 feet | Soft, subtle shadows |
Far Light for Soft Effects
When lights are placed farther away (3-5 feet), they create softer shadows, which are ideal for capturing delicate foods. This reduces harsh contrasts that could overpower subtle details.
For dishes with mixed textures, a dual-light setup works well. Place one light closer (around 2 feet) to bring out textures, and position a backlight farther away (around 4 feet) to softly illuminate smoother elements [4][7].
Finding the Right Distance
Using a light meter can help you measure intensity changes and find the perfect range for your setup. Here are some general guidelines:
| Light Type | Optimal Range | Best Application |
|---|---|---|
| LED Panels | 2-4 feet | Consistent lighting for flat lays |
| Studio Strobes | 3-6 feet | Diffused, high-power lighting |
| Speedlights | 1-3 feet | Highlighting small details |
For glossy dishes that tend to reflect light (refer to Common Problems), keep lights 2-3 feet away. This distance minimizes glare while still providing enough light for proper exposure [1]. It also ensures an even spread of light across the subject.

Flags and Shadows for Contrast
Flags help shape light and shadow, bringing depth to your photos. They work alongside techniques like distance control (Section 4) and modifiers (Section 2) to create striking contrast and emphasize texture, giving your shots a polished, professional look.
Flag Placement Basics
The way you position flags directly affects the quality of shadows and the overall presentation of your subject. Here are some tips for effective placement:
Position flags at a 45° angle to the subject for a polished, commercial feel.
Maintain a gap of 12-18 inches to allow for natural transitions in lighting.
Use feathering to gradually reduce light and avoid harsh, distracting shadow edges [2].
Adjust placement based on the size of your subject and the level of drama you want to convey [5].
Shadow Patterns and Effects
Where and how you place flags can highlight specific elements of your subject. For example, matte black foam core enhances the crusty texture of sourdough bread, while duvetyne fabric creates softer shadows around delicate herbs. When photographing cocktails, placing flags closer (around 6 inches) produces bold, dramatic lines, while positioning them farther away (about 36 inches) keeps the liquid's translucency intact [3].
Flag Materials Guide
The material you use for your flags plays a big role in controlling light. Each type has its own strengths:
| Material | Light Blocking | Best Use Case |
|---|---|---|
| Black foam core | 98% | Product shots requiring sharp shadows |
| Duvetyne fabric | 95% | Lifestyle shots for magazines |
| Black poster board | 90% | All-purpose light control |
For the best results, mix rigid and flexible materials to fine-tune shadow control. Avoid reflective materials, as they can create distracting highlights that pull attention away from the food [1].
To achieve natural-looking shadow gradients, try layering flags at 45° and 110° angles. This approach keeps details clear while adding a professional level of contrast to your images [2][3].
Conclusion: Next Steps
These techniques build on each other - directional lighting sets the stage, while flags (Section 5) bring in the finishing touches by adjusting contrast.
Summary of Techniques
To master lighting for food photography, focus on these key steps: use directional lighting for texture, modify light quality with tools, maintain consistency with studio setups, play with depth by adjusting distance, and fine-tune contrast with flags. Tailor these techniques to fit the subject:
| Food Type | Primary Technique | Supporting Method | Key Tool |
|---|---|---|---|
| Reflective surfaces | Backlight | Diffuser | Diffuser |
| Rustic subjects | Side light | Black flags | Foam core |
| Fresh produce | Soft overhead | Reflector fill | LED panel |
Getting Started Guide
Start with a single adjustable light placed at a 45° angle. Add modifiers like diffusers or reflectors as needed to soften shadows or fill in darker areas. Begin by applying the lighting basics from Section 3, then experiment with additional tools to fine-tune your results [5].
Practice Methods
Distance Control Study: Photograph a simple subject, such as an apple, while moving the light source to different distances. Start at 1 foot, then move to 3 feet, observing how texture and shadow details change [3].
Shadow Manipulation: Use black foam core to block light in measured amounts. Begin by blocking 25% of the light, then increase to 50% and 75%. This helps you understand how to control contrast effectively [3][7].
Natural Light Recreation: Use studio lights to mimic the look of window light. This is a great way to achieve consistent results when natural light isn’t available. Keep a record of your setups for future reference [7].
FAQs
What lighting should I use for food photography?
Here’s a quick guide to lighting setups tailored for different types of food:
| Food Type | Recommended Lighting | Key Setup Details |
|---|---|---|
| Glossy/Reflective Foods | Polarized softbox | Place at a 45° angle |
| Matte Foods | LED panels with silver reflectors | Mount lights on the side |
| Translucent Items | Single backlight + light blockers | Use grid spots for precision |
For a solid starting point, try adjustable LED panels paired with large diffusers placed close to your subject. If you prefer natural light, north-facing windows are your best bet for consistent results. This works especially well when paired with studio techniques mentioned earlier in Section 3, ensuring consistent outcomes when needed.
For setups that need to be recreated reliably, continuous LED panels with a 5000K color temperature offer steady illumination and flexibility [4][7]. On a tighter budget? Use adjustable RGB bulbs with collapsible diffusers for a cost-effective yet flexible solution.